Odoo PITS Firebase Cloud Messaging Notification
Categories
Magento
WordPress
SAP Commerce
Odoo
Shopify
Typo3
Shopware
nopCommerce
Pimcore
Hyvä
OXID eShop


1. Introduction
The FCM Notification Module for Odoo enhances user engagement by integrating Firebase Cloud Messaging (FCM). This module enables sending push notifications to users, ensuring timely updates, reminders, and alerts. By leveraging FCM, businesses can reach their customers directly on their devices for improved communication and user experience.
2. Features
- User-Friendly Interface: Easy setup for configuring Firebase credentials.
- Multi-Device Support: User can register and receive notifications on multiple devices.
- Automatic Token Generation: The device token is automatically stored in Odoo and linked to the user.
- Customizable Notifications: Personalize message titles, bodies, image, icon, redirect URL for each notification.
- Real-Time Notifications: Instantly send push notifications to users' devices.
- Group-Based Notifications: Send notifications to all users under the specific group or to all users.
- Multi-Language Support – Send notifications in different languages based on user preferences
3. Working
Firebase Configuration
- Obtain the Project ID from Firebase.
- Download the service account JSON file from Firebase.
- Obtain the VAPID key under Cloud Messaging in Firebase project settings.
- For further details, refer to the Firebase Cloud Messaging Documentation.
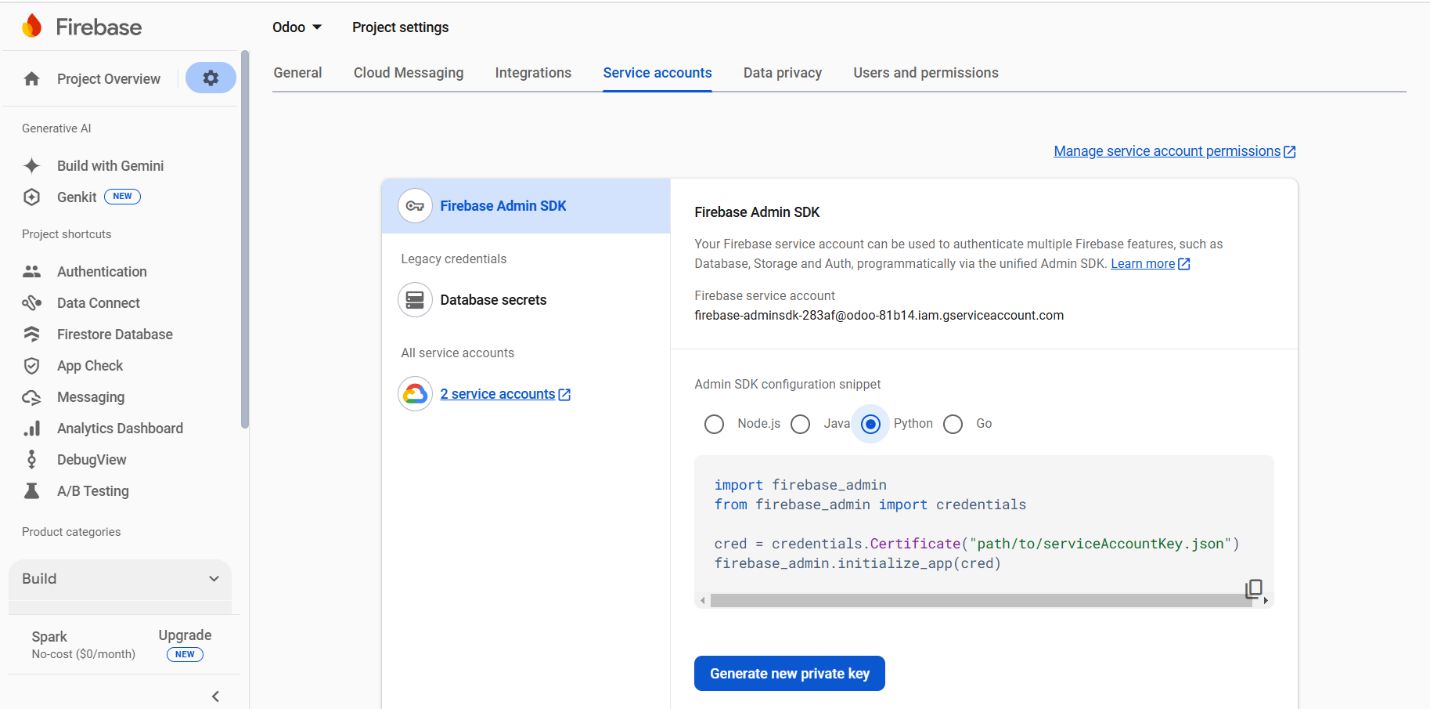
Screenshot 1: Generating the service account file from Firebase.
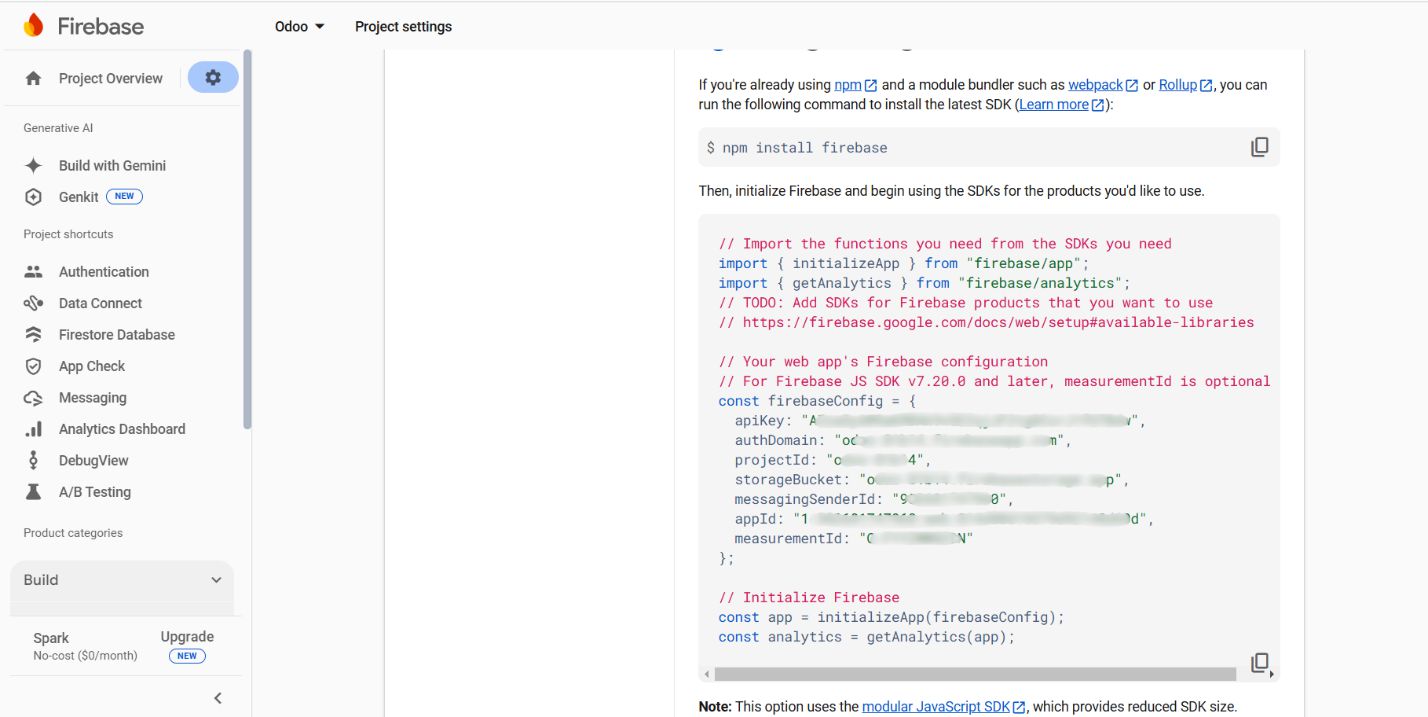
Screenshot 2: Project details from Firebase.
Odoo Backend Configuration
- Navigate to the Odoo backend.
- Configure Firebase settings within the module by adding all the firebase configurations.
- Ensure that credentials and project details are correctly added.
- Add the service account Json file.
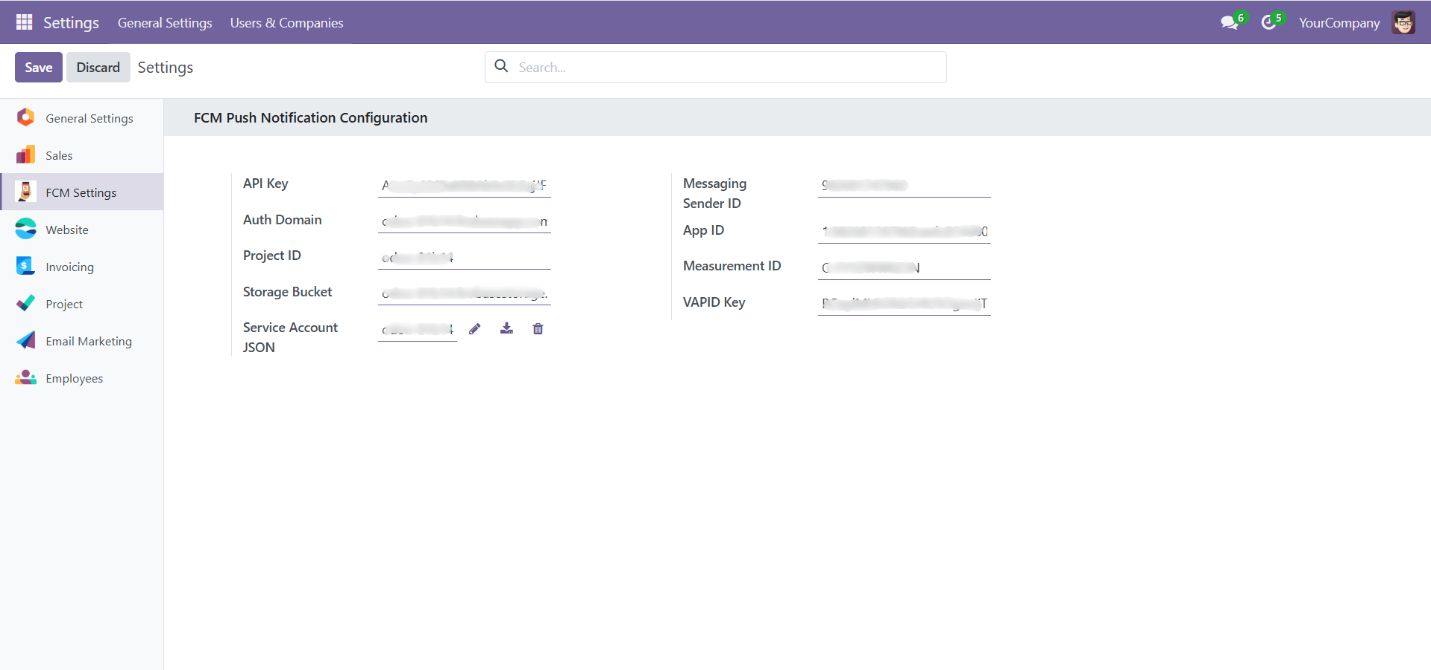
Screenshot 3: Configurations for FCM.
Register Browsers
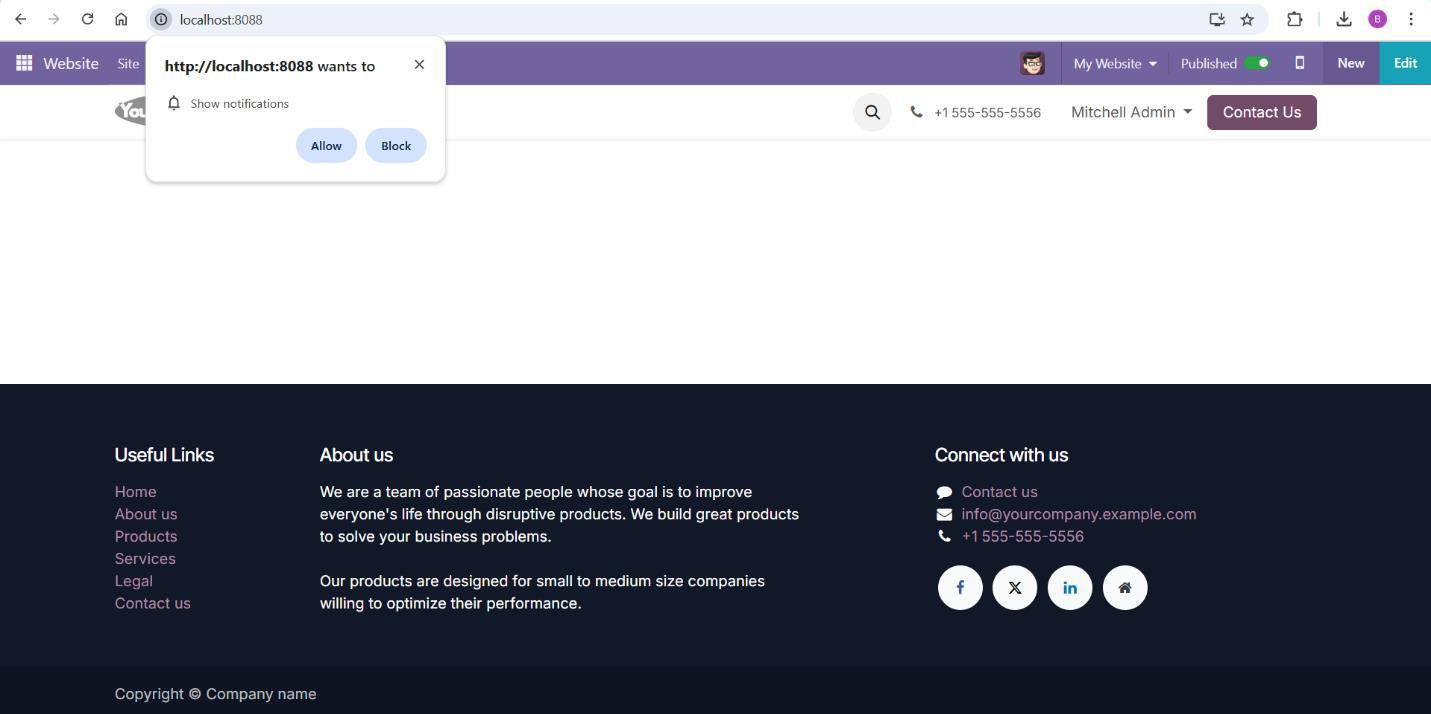
- Navigate to the Odoo website and Enable push Notifications pop up will be shown.
- By clicking allow, Notification Permission will pop up from browser.
- Click allow for receiving notifications.
- Registration token will be automatically saved in the registered browsers menu.
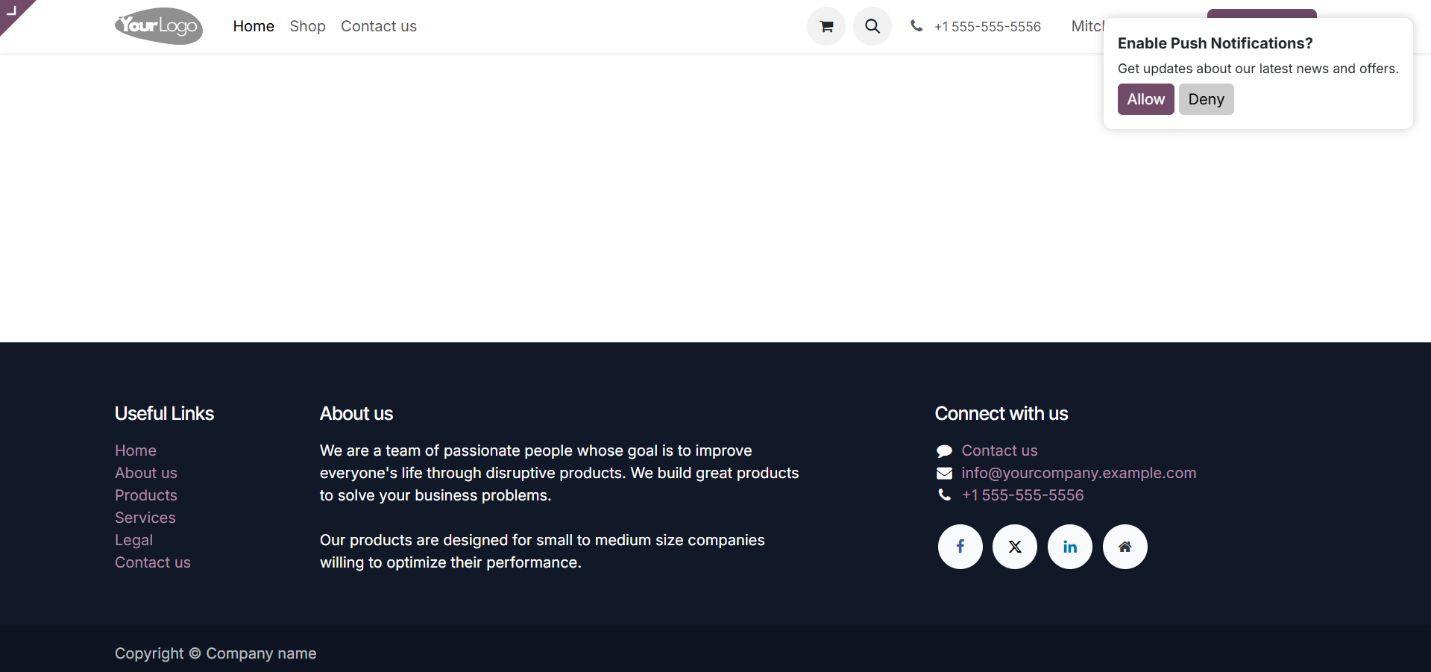
Screenshot 4: Enable push notification pop-up
Screenshot 5: Notification permission pop-up from browser
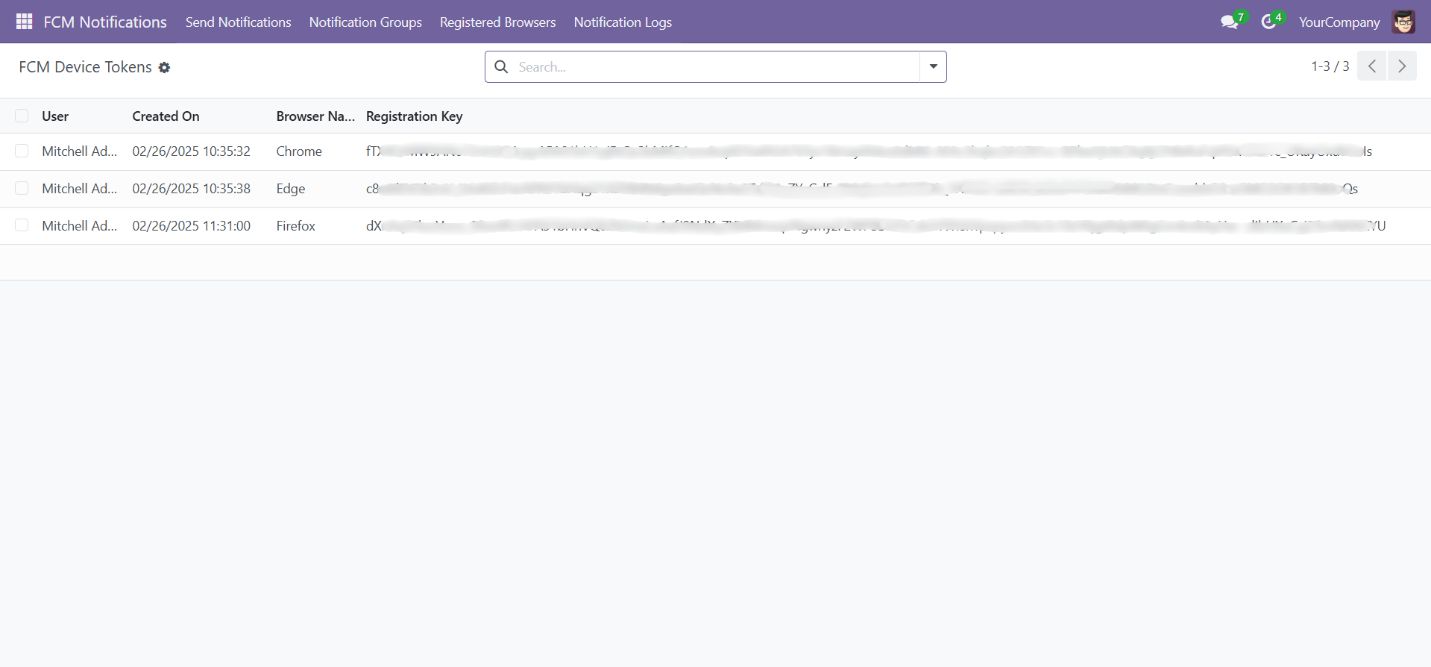
Screenshot 6: Registered browsers
Notification Groups
- Create groups under the notification groups menu.
- Enter the group title and customers.

Screenshot 7: Notification groups.
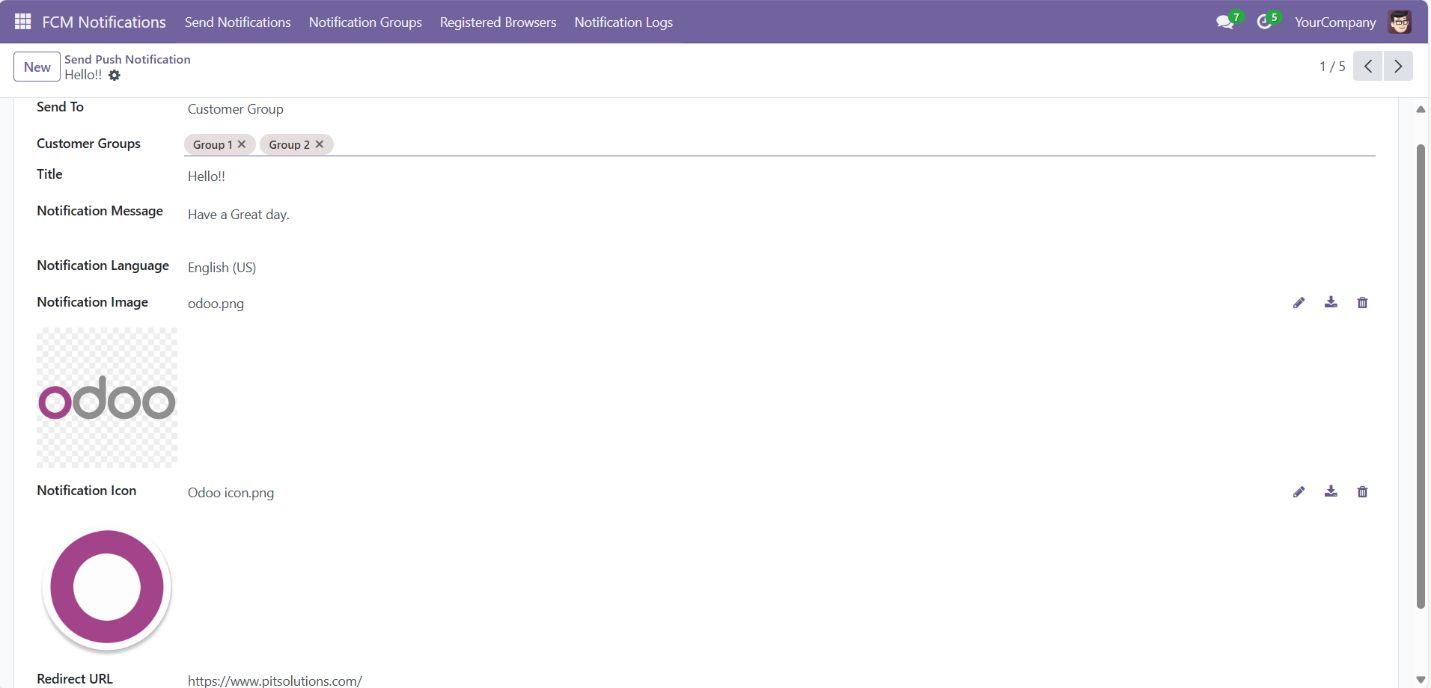
Send Notification
- Navigate to the Send Notifications menu.
- Select default groups or custom groups for sending notification:
- Internal Users - Send notifications to all the internal users.
- Portal Users – Send notifications to the portal users.
- Public Users - Send notifications to the public users.
- Customer Group – Send notifications to the selected group of people.
- All Users – Send notifications to every registration token of users.
- Add Title, Message, Language, Image, Icon and Redirect URL.
- For Images, use 2:1 aspect ratio (e.g., 512x256 or 1024x512) to ensure consistent display across web and mobile platforms.
- For Icons, use a square icon image with a size of 192 × 192 pixels (or at minimum 96 × 96 pixels) and a 1:1 aspect ratio to ensure proper display without trimming in both web and mobile push notifications.
- Click the Send Notification button.
Screenshot 8: Notification groups.
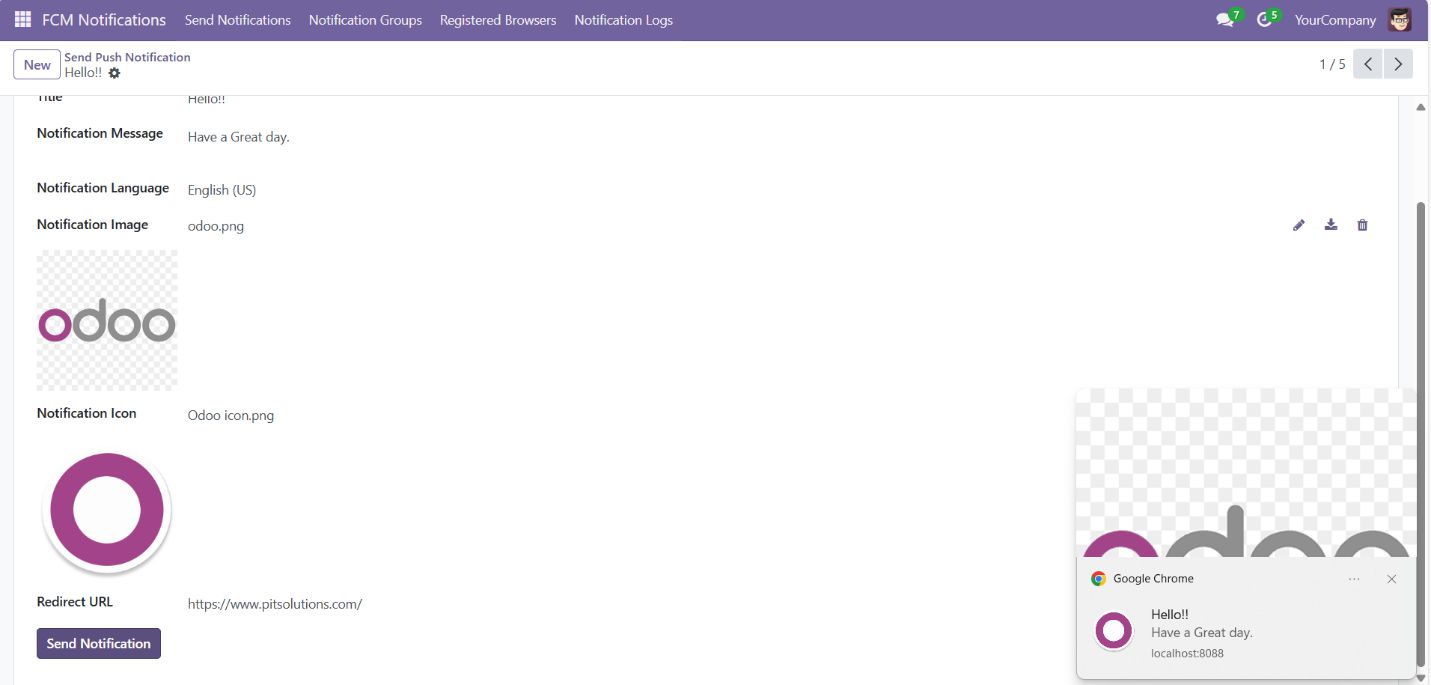
Screenshot 9: Notification received
Notification Logs
- After sending the notification, the log will be stored in the Notification logs menu.
- The Notification logs menu can be accessed only by the administrator.
- Request data, response data and status will be saved in the Notification logs.

Screenshot 10: Notification logs.
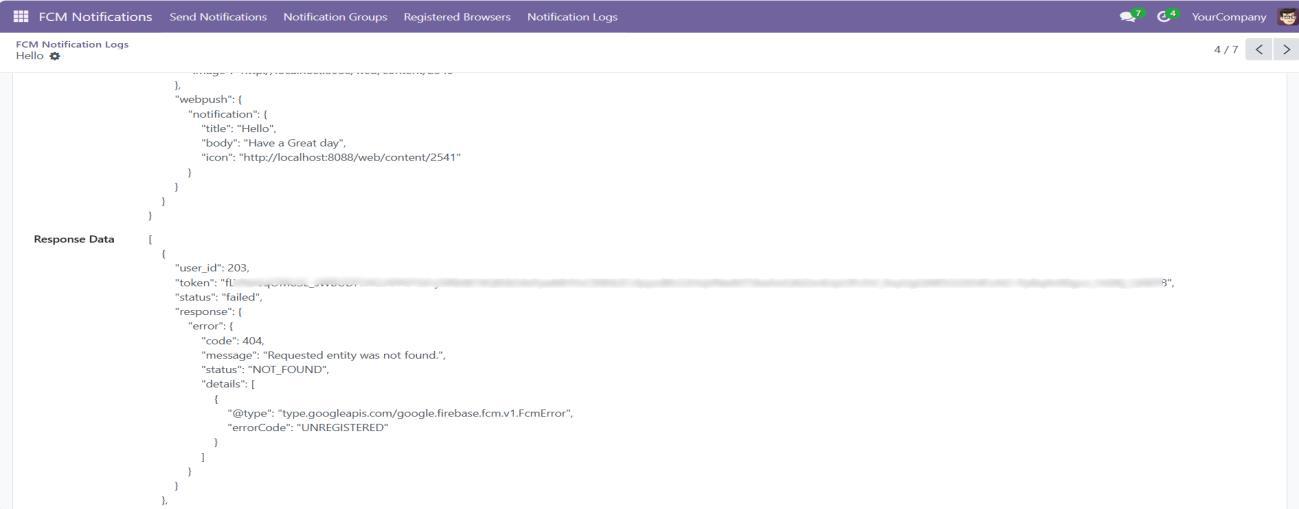
Screenshot 11: Request and Response data.
User privileges
- Navigate to Settings and Users menu
- Select the user privilege for FCM Notifications
- FCM User
- User has no access to FCM settings and FCM Logs
- Registration key is not visible
- Delete operations in all menus is restricted for user
- FCM Administrator
- Admin has all access for FCM notification
- FCM User
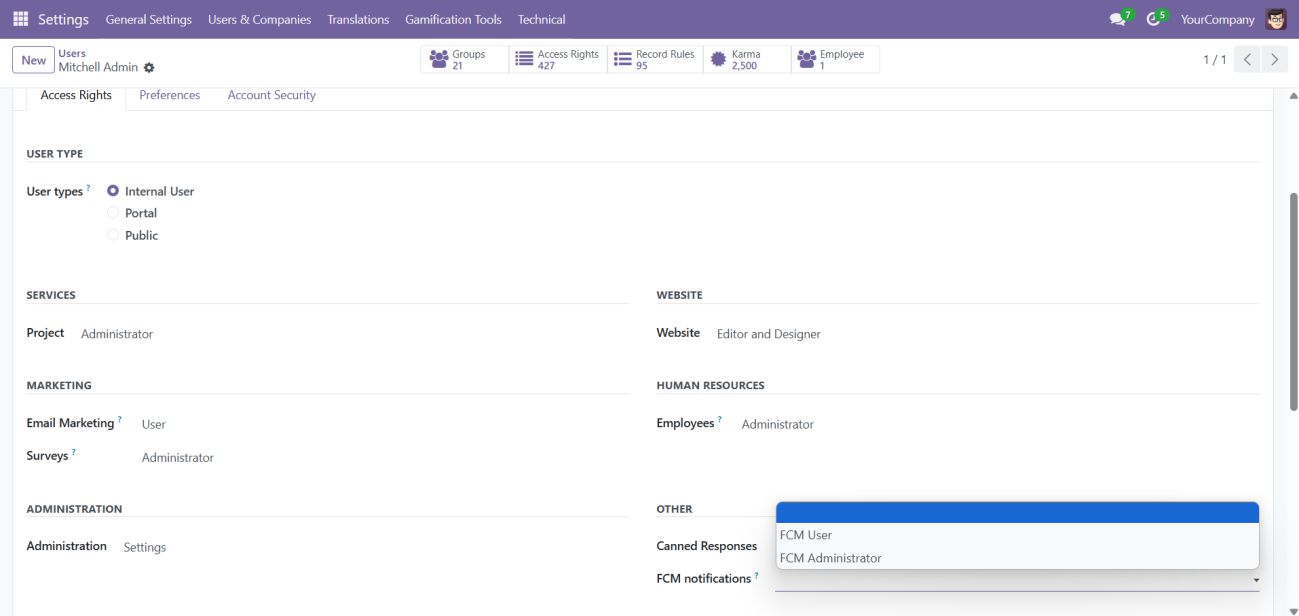
Screenshot 12: User privileges in user settings.
4. Working in iOS
1. Navigate to the website and login.
2. Click the share button and then Click the Add to Home Screen.
3. It will be converted to a web app only for Internal users.
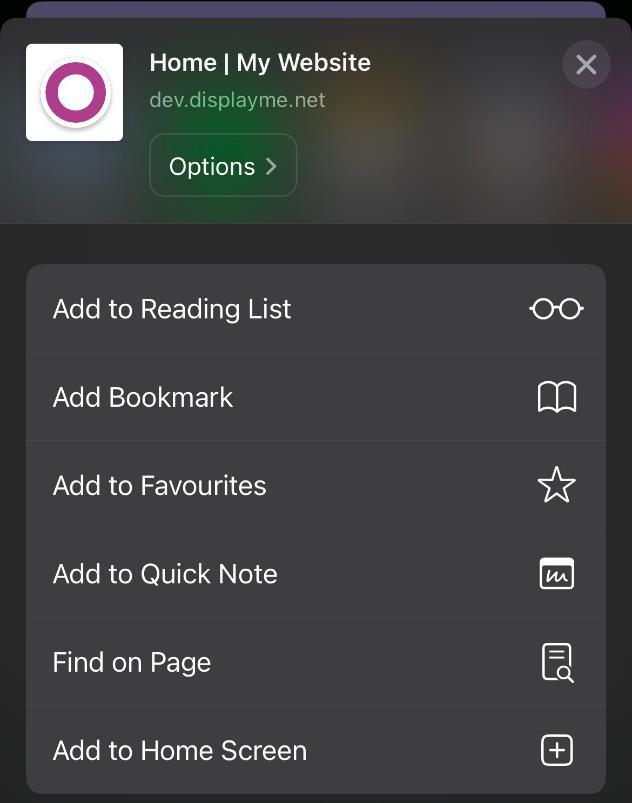
Screenshot 13: Add to Home Screen button
4. Open the app added in the Home Screen.
5. Then click the Enable Push Notifications button.
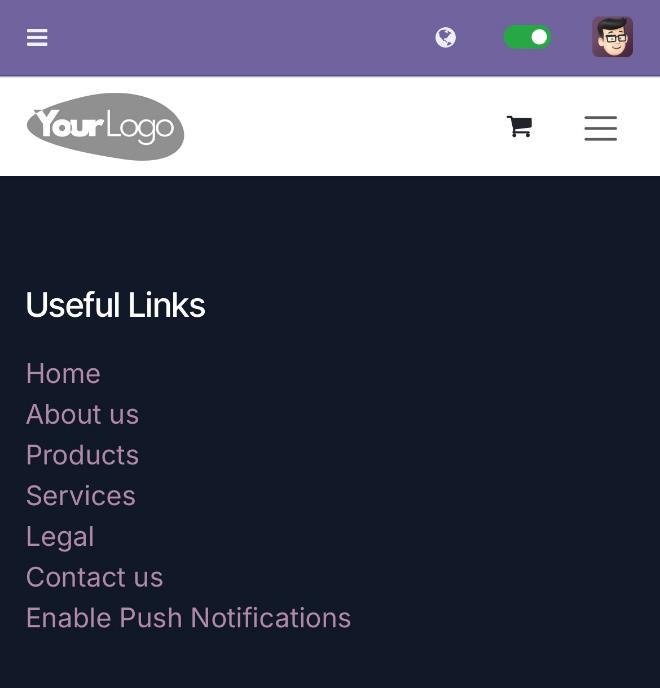
Screenshot 14: Enable Push Notifications button.
6. Then a popup will be displayed, select allow.
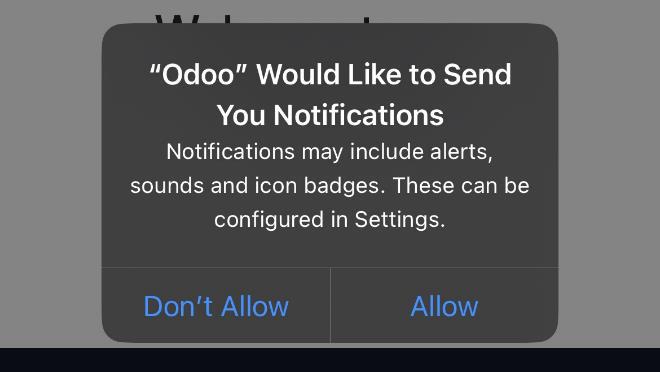
Screenshot 15: Notification Request Permission
7. Now the notifications can be received.
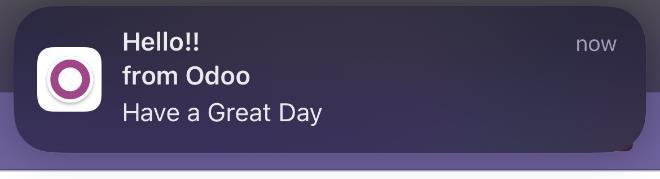
Screenshot 16: Notification Received.
5. Technical Requirements / Compatible With:
- Python Dependency: pyfcm library.
- Compatibility: Odoo v 18.0 Community and Enterprise Edition.
- Supported Browsers in Windows:
- Chrome
- Edge
- Firefox
- Supported Browser in Mac:
- Safari
- Supported Browsers in Android:
- Chrome
- Firefox
- Supported Browser in iOS:
- Safari
6. Limitations:
- Image in push notification not supported by
- Firefox browser
- Safari browser
- Icon in push notification not supported by
- Safari browser
- Supports web push notifications only for web apps added to the Home Screen in iOS.
- Does not support with Edge browser in android devices.
7. Changes Log / Release Notes
- Version 1.0.0: April 2025
- Initial release.
8. Support
If you have questions, use our contact form at webshopextension.com or email at support@webshopextension.com.